Topics: DIY, Craftiness, Linux, Motorcycles
So I have this motorcycle.
It's a lot of fun.
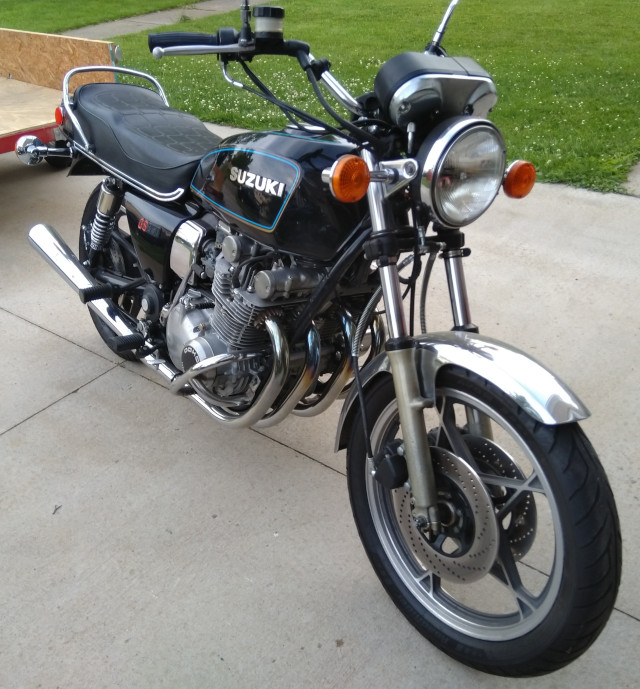
I could talk at length about the general awesomeness of the late 70's to early 80's Suzuki GS muscle bikes. But! We only have so much time until the heat death of the universe. So to keep it brief, I picked up this 1979 Suzuki GS850G a few years back after seeing it on a local classified site. It was in fantastic shape, had a fair number of useful upgrades over the stock '79 model, and came with a boat-load of extra parts. Best of all, the price was right. I brought it home with me and after very little maintenance, it's been a solid runner that I look forward to riding every stinking chance I get.
The Missing Piece
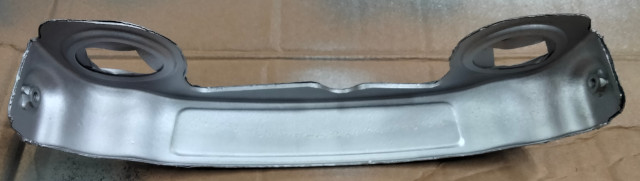
After I bought it, I was so busy ogling the rest of the bike that it took a few days before I even noticed it was missing the fork cover.
Just below the headlight there's supposed to be a chrome bit that covers up the front brake line tee. It offers no functional value whatsoever to the motorcycle--it's a purely cosmetic touch--and it's not something that anyone except fans of the bike would even know was missing. I shouldn't give a crap about this useless piece of shiny. And yet...
The first thing one does in this situation is head onto eBay and see if by some Christmas Miracle there's a decent one listed for sale at an affordable price. I've been lucky before, but not this time. For this kind of part, most of the time, the offerings can be divided into four categories:
- Rusty junk ($)
- Not rusty, but dented or missing some bits ($$)
- Good enough, clean, shiny parts ($$$)
- New old stock (NOS) ($$$$)
I'm not going to spend a lot of analog currency on a farkle. I resolved to stay in the $$ category and purchased a shiny-looking cover with a missing emblem. Which is another way of saying I solved half the problem, throwing the other half over the wall at poor, defenseless Future Me to deal with. I'm a jerk like that.
Sidebar: This part isn't 100% completely correct for the bike. Out of the factory, the fork cover for this bike had a more boxy--dare I say chonkier--look to it. But those are even harder to find and I like the slightly more streamlined look of this one better. But be forewarned, it's often a gamble when buying parts for a different model year than the vehicle you currently have, ask me how I know.
The Solution
Eventually, it came time to figure out what to do about the missing emblem. After a lot of research and dead ends, at some point I had a light bulb moment and remembered that my wife owned a vinyl cutter. She's always cutting out vinyl stickers to put on mugs, picture frames, small furry animals and so forth and I didn't see why it couldn't work here. It turns out they make sheets of adhesive vinyl that is specifically intended for use on vehicles and outdoor signage. If that stuff holds up to cars and such, it should work well enough to be a logo for a bike that's almost a garage queen and never sees any harsh weather beyond a bit of sun. If it turned out the way I was hoping it would, nobody would notice that the fork cover had vinyl instead of embossed metal until they stuck their face right up to it. (At which point I would ask them why they are sticking their face right up to my bike.)
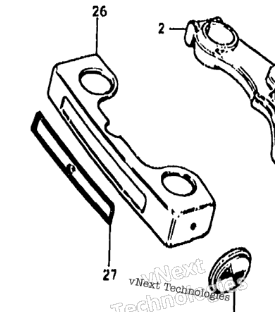
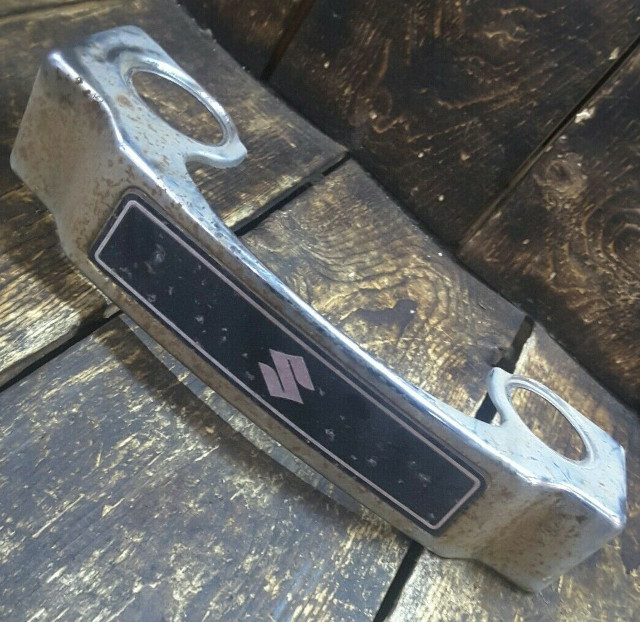
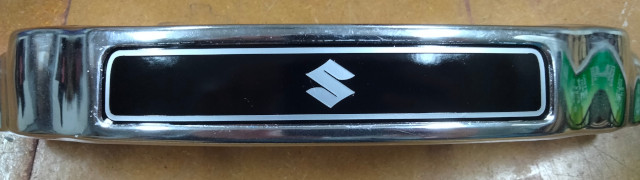
From the factory, this cover would have had a tastefully understated stylized "S" in the middle, like this picture I stole off eBay:
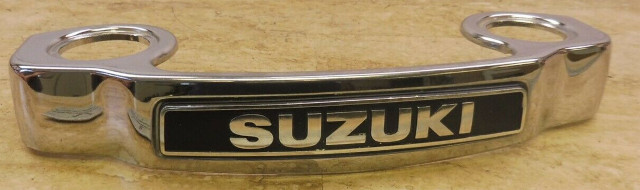
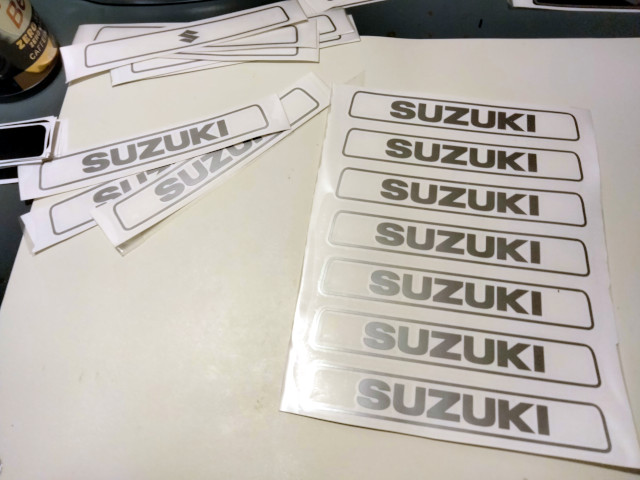
However, a few Suzuki bikes plastered the brand's name across nearly the entirety of the emblem which is far bolder and maybe a little snazzier:
I hemmed and hawed over this for a good long while couldn't make up my mind which version I wanted, so I ended up drawing both:
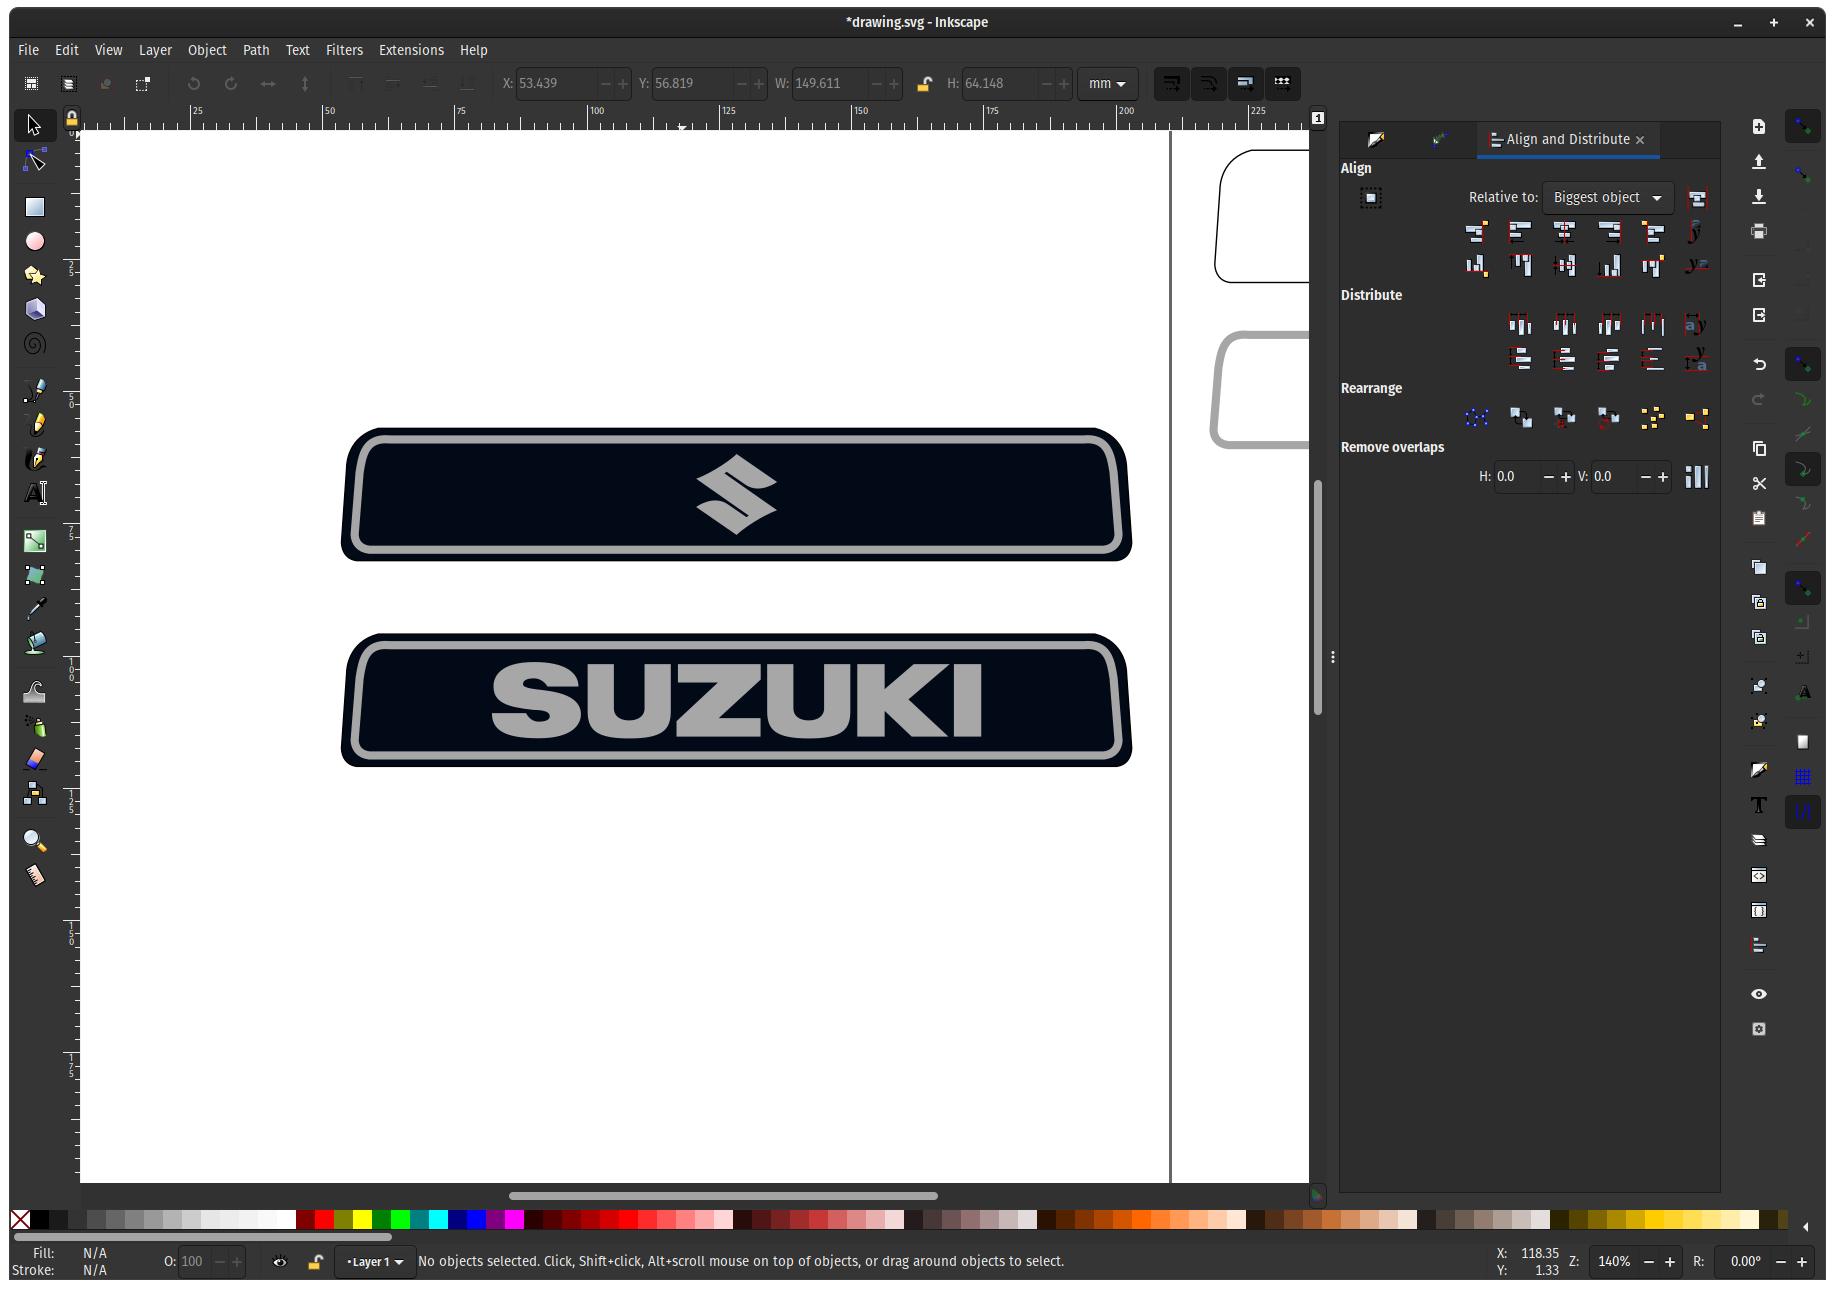
To design this, I got the measurements of the decal depression on the fork cover and did some trial-and-error with Inkscape, a laserjet printer, some scissors, and a steady hand mostly unspoilt by a small glass of Jameson. I then grabbed an SVG copy of the Suzuki logo with its stylized "S" and blocky letters right off Wikimedia Commons. Thank you, Wikipedia, and thank you Suzuki for not going through 37 rebranding iterations over the last four decades.
The real emblems have a slightly more rectangular look to them than mine did because I was following the contours of the depression in the fork cover. However, I like the way these look and if anything, they follow the design language of the period. (Or at least, that's what I think a wanna-be hipster artist would say.)
The Derustification
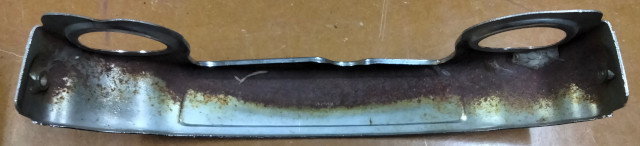
The outside of the cover is shiny and pristine. However, the chrome on the inside of the cover was very thin; the plating has all been rusted through. Which is par for the course on these, for better or worse. The rust is just on the surface, however, and will come off easily.
Once I had a game plan, it was time to put down the whiskey and start actually doing stuff. The first order of business was to de-rust the underside of the cover. Normally my go-to for rust removal is vinegar and plenty of patience. But vinegar is an acid and I wasn't 100% sure it wouldn't tarnish or eat into the chrome. I had been wanting to try Evapo-rust after hearing about it on forums and from various YouTubers, some of whom were paid to say nice things about it. It claims to be "super safe" and several of their example images show it cleaning up chrome, so I decided to give it a shot. There was just one caveat...
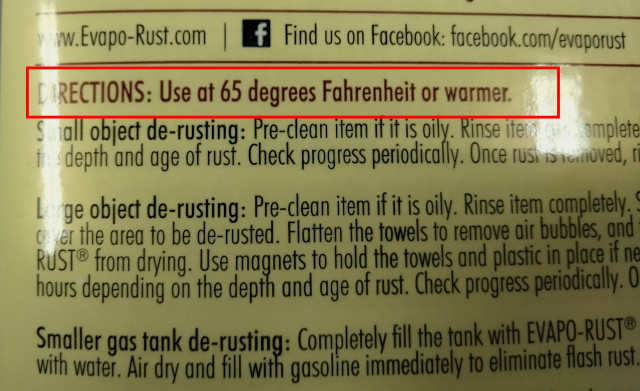
It was towards the end of winter when I did this and I didn't want to use the Evapo-rust inside my house. The label on the bottle makes it sound like it's perfectly fine to stir a spoonful into your morning tea but the SDS says it can cause skin and eye irritation. So in the garage it had to be. Only problem is that the garage wasn't warm enough...
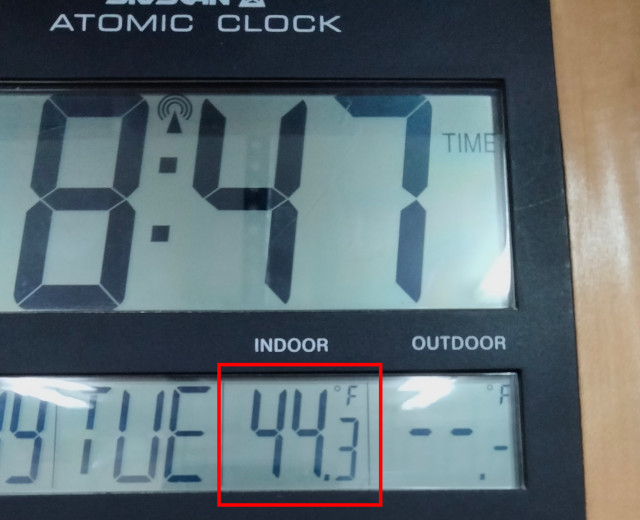
And from what I was reading online, several people said that they weren't having any luck with Evapo-rust under 65 degrees, which would be even more of a challenge.
My solution to this is a makeshift version of an EZ-Bake oven. Or hot-plate, anyway. I have these LED flood lights I sometimes use as work lights. They throw off 100W of heat once they get up to temperature. This seemed like enough to heat liquid up to at least room temperature. I did an experiment with just water and found that after a few hours, the temp of the water rose to about 84 degrees and stayed put. Perfect! All that was left to do was give the real thing a soak.
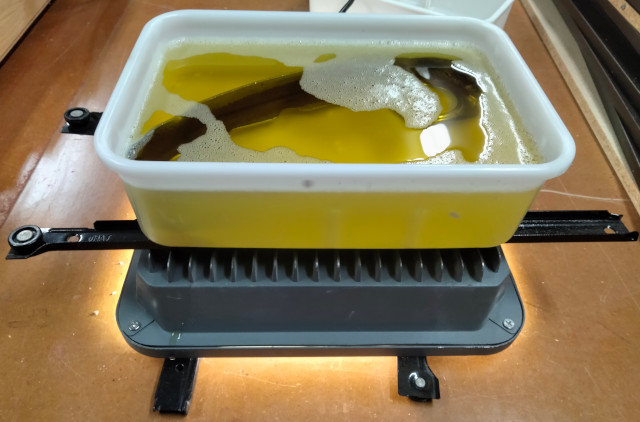
This worked surprisingly well. I let the Evapo-rust do its thing overnight and came back the next day to rinse it off and found nearly all of the rust had been dissolved. I could have let it go for a bit longer and got the last little bit, but I was getting impatient. The little bit of rust that was left was a truly minuscule amount that paint will cover up and encapsulate forever.
I masked off all the chrome on the outside and shot the inside with an etching metal primer, followed by a slightly-metallic silver automotive paint, both of which I already had lying around.
The Vinyl
Now for the fun bit. According to The Internet, the good stuff is genuine Oracal 651. Supposed to be suitable for just about anything, even outdoor and automotive applications. So I ordered some in matte black and metallic silver, which as we all know is code for "high-luster gray."
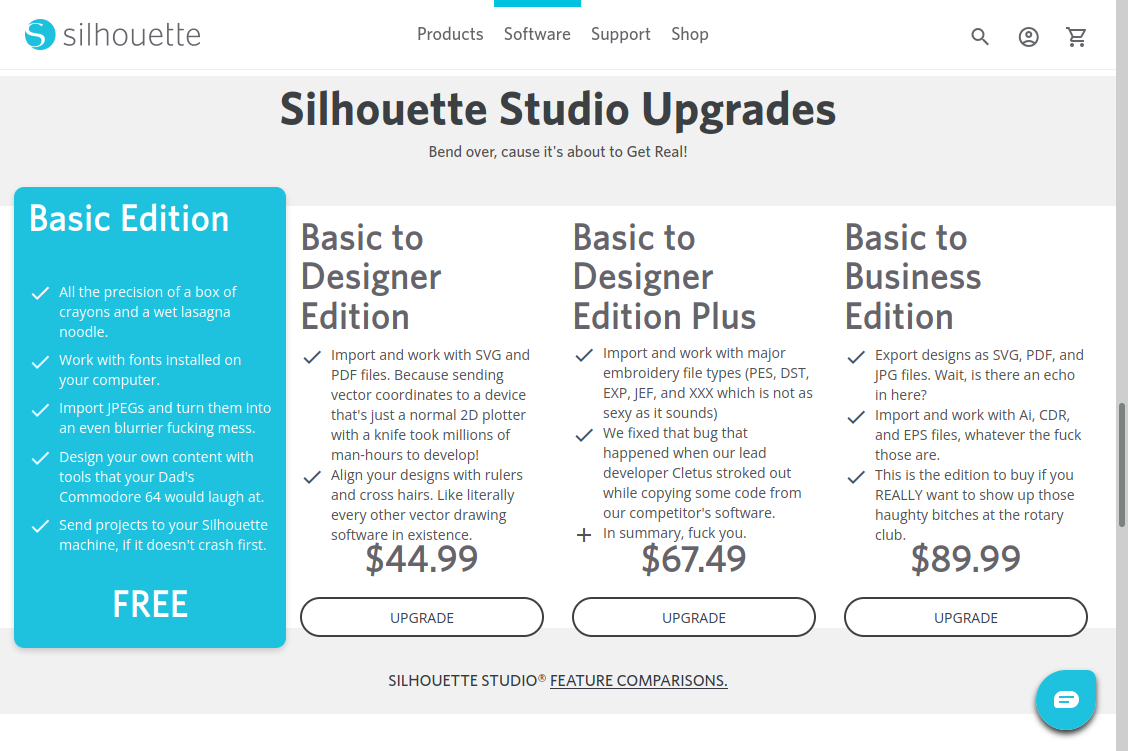
My wife has a Silhouette vinyl cutter which does some pretty amazing stuff. Unfortunately the company is run by shitheads because even after you buy the machine, you can't simply import an SVG into the program and go to town. Heavens no. You have to buy an upgrade to the software before it will even let you work with vector graphics. Which is insane because it's literally just a 2D plotter a knife instead of a pen.
So, as a result of the aforementioned buffoonery, I wanted to see if I drive this sucker with Linux. Some half-hearted googling led me to the inkcut project which is sort of an all-in-one program for all kinds of 2D vector devices including plotters, engravers, and CNC. It seems to be written largely in Python (which is good!) but also hasn't seen a lot of upkeep and maintenance in recent years. I managed to get it installed after some difficulty but even though it listed the Silhouette Cameo as a supported device, there's no option to select that in the UI. Even after reading some of the source code, I couldn't figure out how to easily add it.
Almost by accident, I then stumbled upon inkscape-silhouette which is just a plugin for Inkscape. Apparently it works on Windows and Mac OS as well. After you install it, you literally just run Inkscape, load up your drawing, launch the plugin, and send the drawing to the cutter. Very easy, very nice. The only real caveat I found was that everything in your drawing has to be a Path, but that's trivial to do. Big shout out to the folks at Fab Lab Region Nurenberg for their work on this extension.
If by some chance you want to cut out your own Suzuki logos, there is a link to an SVG file containing the background and logos at the end of this post.
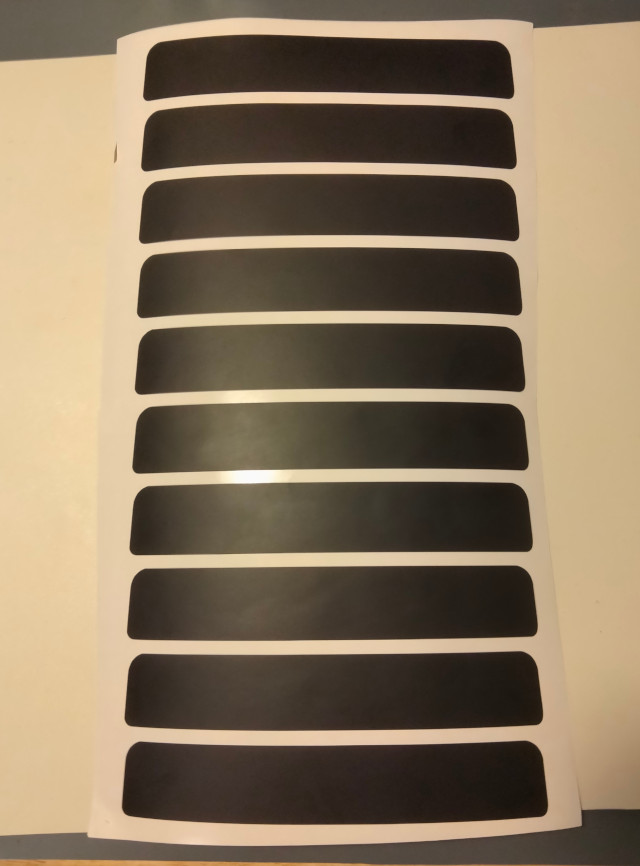
Since I had a ton of vinyl (it's pretty affordable in bulk!), I decided to just cut out a big batch of these all at once, in case I messed a few up, and to give a few away to friends. I started with the black backgrounds and then the silver S logos and Suzuki logos.
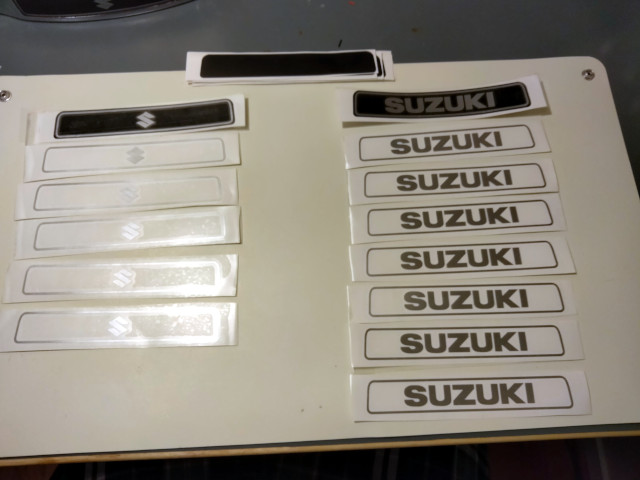
The vinyl we're using has a fairly strong adhesive on the back. The process of layering it and applying it to the object looks something like this:
- Remove the waste material, with the help of a pointy object if necessary.
- Apply a rectangle of transparent contact paper (which is not paper, but plastic) to the top-most design.
- Remove the backing from the top layer.
- Pain-stakingly align the top layer with the bottom layer and apply.
- Peel off the backing from the bottom layer.
- Pain-stakingly align the whole thing to the object and apply.
After that, you are left with a fork cover that looks like this:
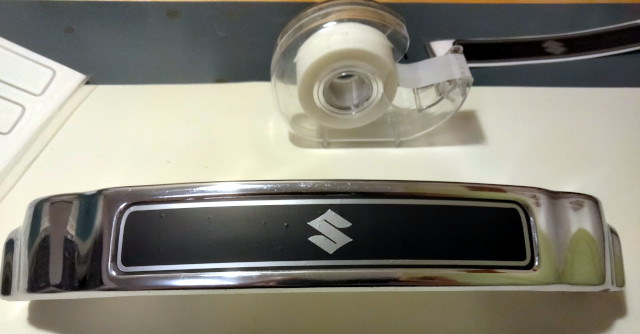
You can see some bubbles here. If they are near the edge, they can be worked out by gently but firmly pushing them toward the edge. In the middle, you can poke them with a pin, rub them a bit, and they almost totally disappear. If they don't, it's no big deal. This is a fork cover for an old motorcycle, not an entry in a concourse show.
The Shining
Although the vinyl I chose is supposed to do well enough on its own, I decided I wanted to do something to seal the edges of the vinyl against the elements and inevitable bug guts. So I gingerly opened up my cabinet full of half-used cans of spray paint and basically just used the first thing that fell out onto the floor.
As a wise man once said, "I may be stupid but I ain't dumb." I made sure this was actually halfway cromulent for this application and then sprayed it over some scrap vinyl on top of some scrap metal. Looks-wise, it turned out even better than I was hoping and seemed to be durable enough.
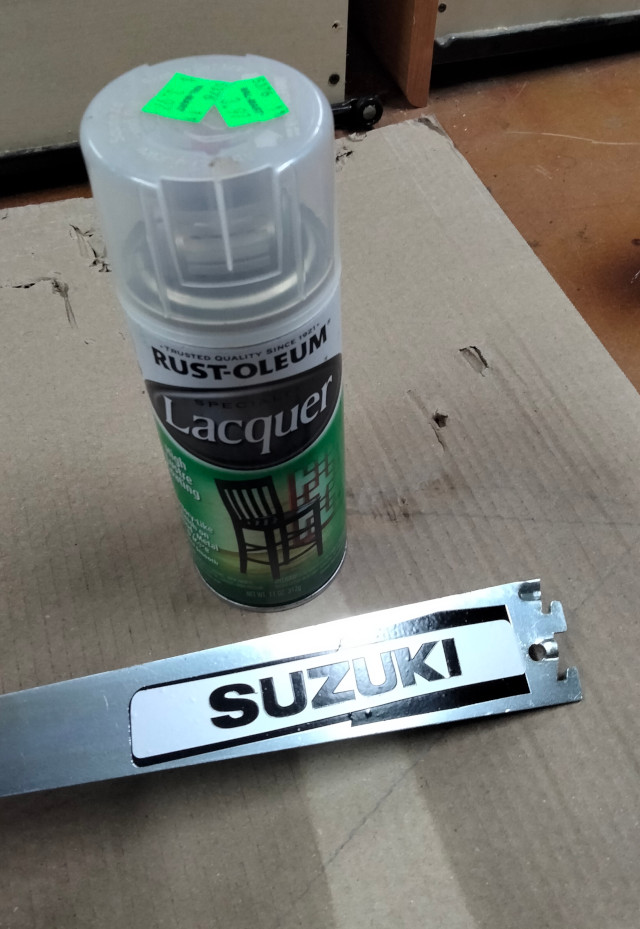
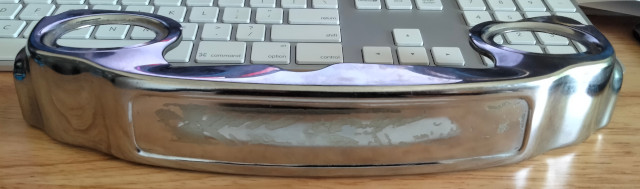
I again masked off the chrome and then went to town with the laquer. This is a look at the end result, before any polishing:
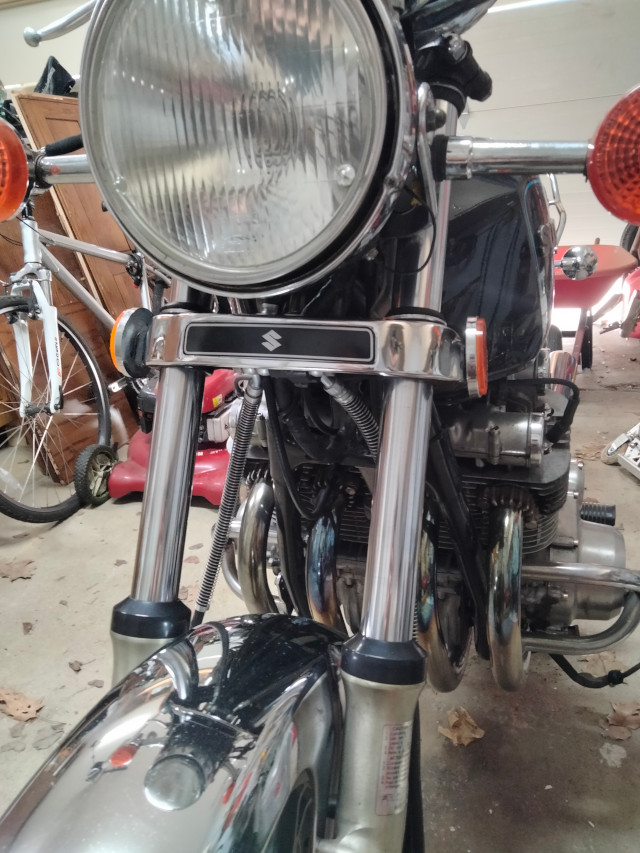
And here it is installed on the bike:
The Conclusion
I'm embarrassed to say it didn't even dawn on me until late in the game that instead of a Suzuki logo, I could have drawn and cut any dang thing I wanted to, and stuck it on the fork cover. Like a tattoo for my bike. A fictional logo, an inspiration quote, perhaps even a dank meme. Oh well, maybe next time.
The Resources
Once you have the plugin installed, all you should have to do is load the SVG above into Inkscape, drag them around however you want, clone them, etc, and send them to the cutter. If you make any modifications, remember that the plugin wants everything to be a path.
Finally, a plug for one of my favorite places on the Internet: If you like classic muscle bikes, you could do worse than to head over to The GS Resources Forum which is populated by a nice bunch of folks who love these old bikes almost as much as helping new owners get them running again.